

How To Draw A Realistic Shell
A visit to the ocean wouldn't be complete without bringing home some of the beautiful seashells scattered on the shore.
Seashells are a hard, protective outer layer created by animals that live on the sea. Typically, the seashells once used to be a part of the sea creatures' bodies.
The seashell has distinct intricate patterns on its surface and has iridescent colors, so we think drawing a seashell would be fun and exciting!
We have created a step-by-step tutorial on how to draw a seashell, made easier with 9 easy instructions and simple illustrations.
Have fun drawing a beautiful seashell!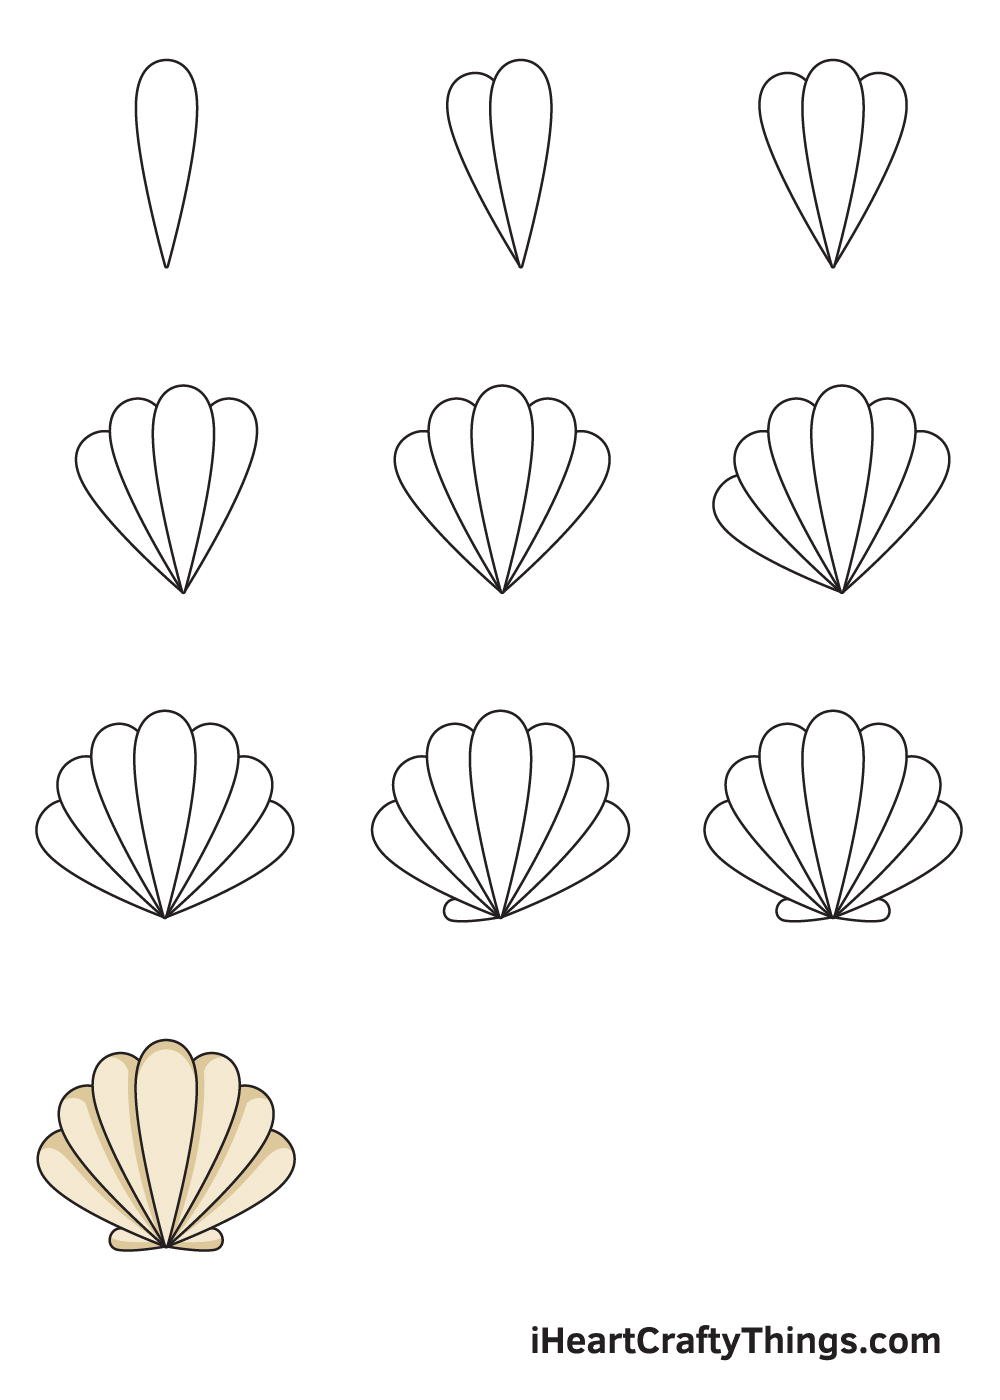
What's in this Blog Post
- How to Draw a Seashell — Let's get started!
- Step 1
- Step 2 — Draw the Middle Part of the Seashell
- Step 3 — Draw Another Layer on the Right Side
- Step 4 — Next, Draw the Fourth Layer of Shell
- Step 5 — Then, Draw the Fifth Layer of Shell
- Step 6 — Draw the Leftmost Layer of the Seashell
- Step 7 — Draw the Rightmost Layer of the Seashell
- Step 8 — Draw the Bottom Left Part of the Seashell
- Step 9 — Now, Finalize the Structure of the Seashell
- Your Seashell Drawing is Complete!
How to Draw a Seashell — Let's get started!
Step 1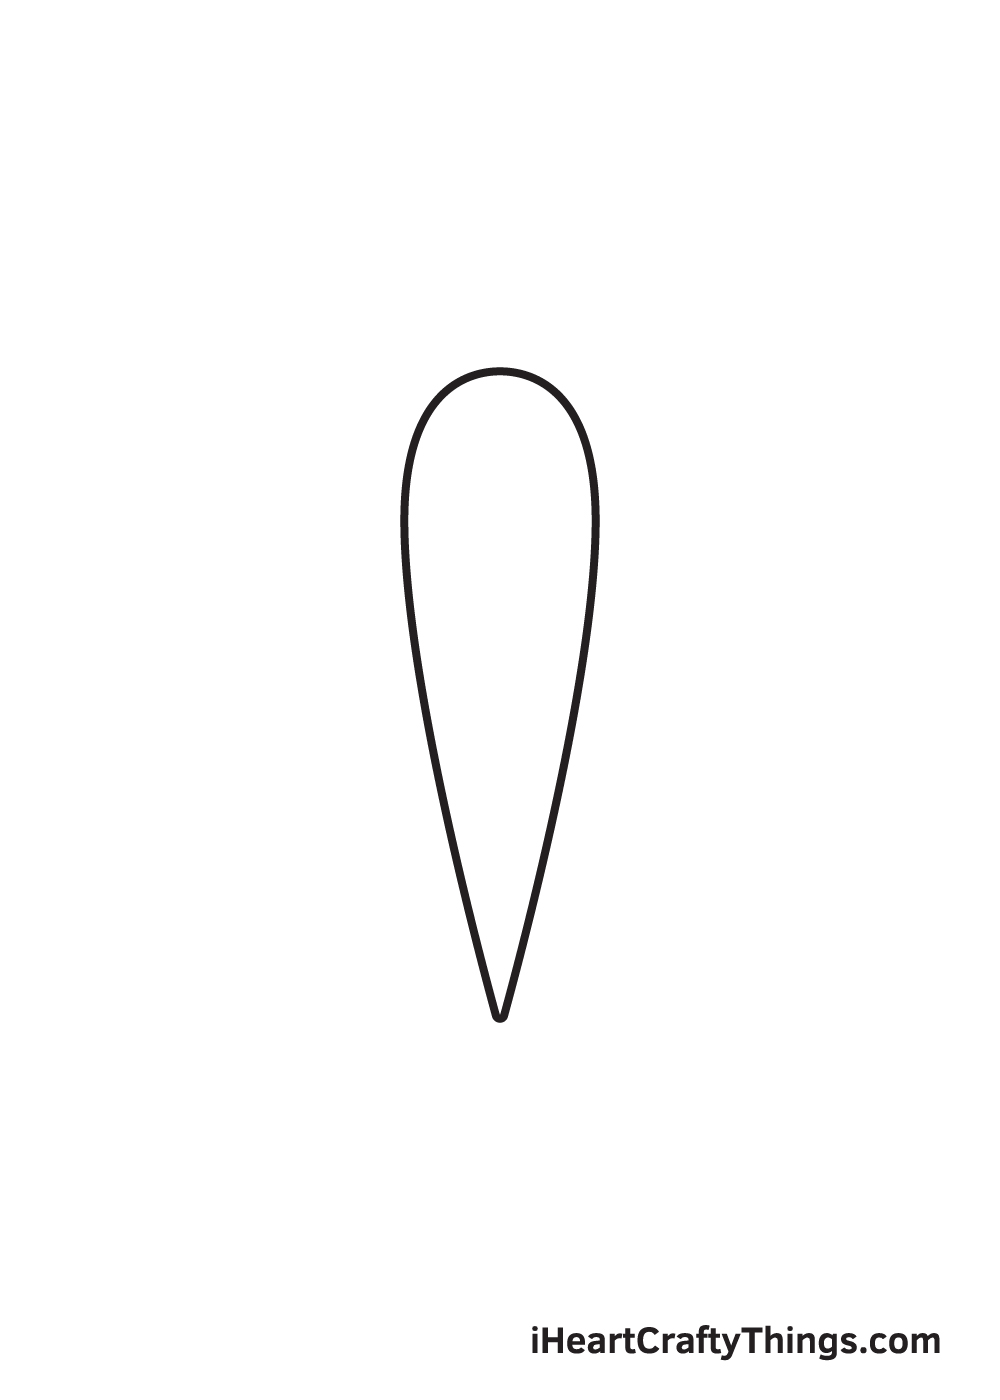
Drawing a seashell is really simple! Start by drawing an upside down, vertical droplet shape. This creates the very center of the seashell.
Keep in mind that the pointed end of the figure should be at the bottom while the round edge should be at the top.
Step 2 — Draw the Middle Part of the Seashell
Everything from this point moving forward is easy and all about repetition, with slight changes in terms of size and angle of course..
Draw the second upside down water droplet shape of the seashell.
Make it slightly smaller than the first one, draw it on the left side and make it appear behind the first one, just like the one shown in the illustration.
Step 3 — Draw Another Layer on the Right Side
Similar to the previous step, we will be drawing another water droplet figure. To make your drawing symmetrical, make sure to add this layer on the right side this time.
As you can see in the illustration above, the layers of the seashell are gradually becoming fanned out.
Step 4 — Next, Draw the Fourth Layer of Shell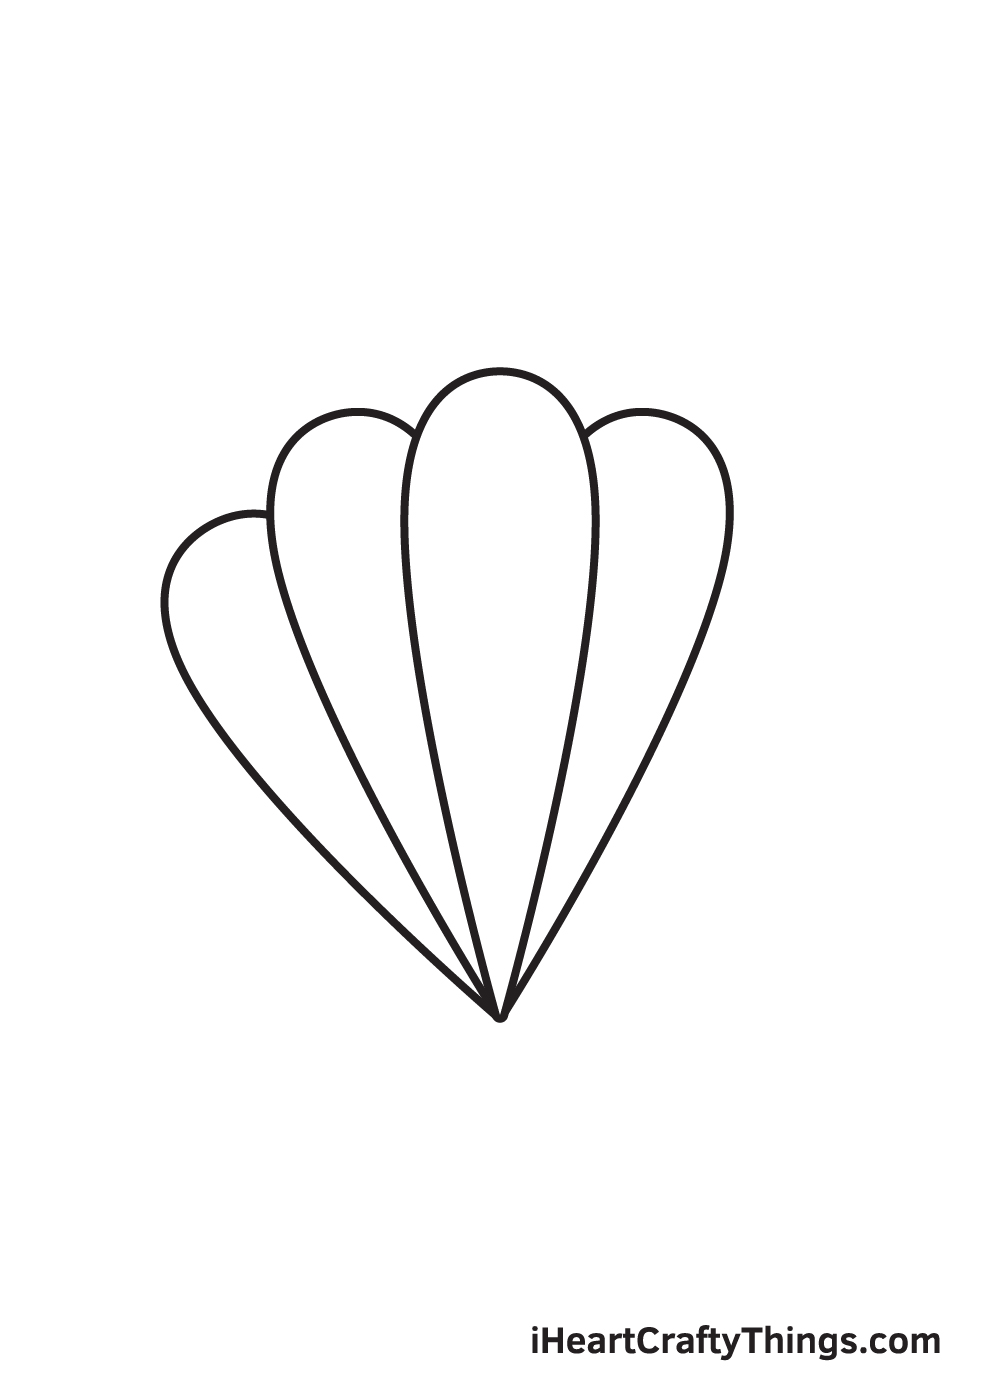
In this step, we will simply repeat the same process and draw another upside down droplet shape on the leftmost side.
Again, it should appear behind the previous one.
Step 5 — Then, Draw the Fifth Layer of Shell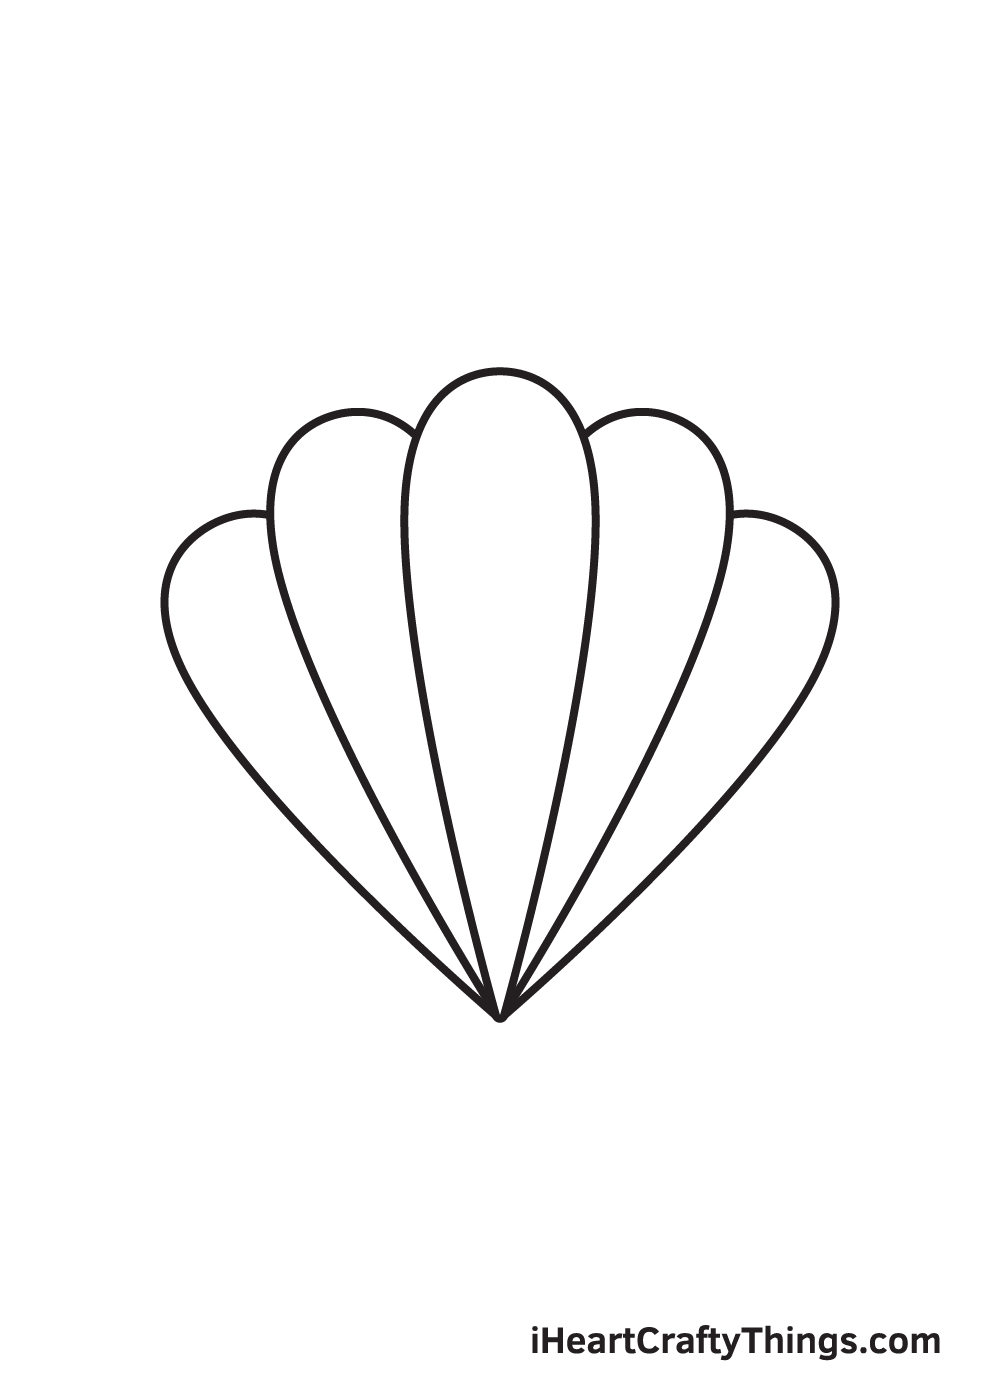
Repeat the previous step on the opposite side.
At this point, you should now have five layers of shell comprising the seashell.
Step 6 — Draw the Leftmost Layer of the Seashell
Here, we will be drawing another section of the seashell.
Keep in mind that this layer should be located on the leftmost side and should be a bit smaller compared to the other layers of the seashell.
Your seashell drawing is almost complete—keep going!
Step 7 — Draw the Rightmost Layer of the Seashell
This one is another repetition. This makes it look symmetrical by adding another smaller water droplet-like shape on the rightmost side.
After finishing this step, all seven layers (one in the middle and three on each side) of the seashell should be complete.
Step 8 — Draw the Bottom Left Part of the Seashell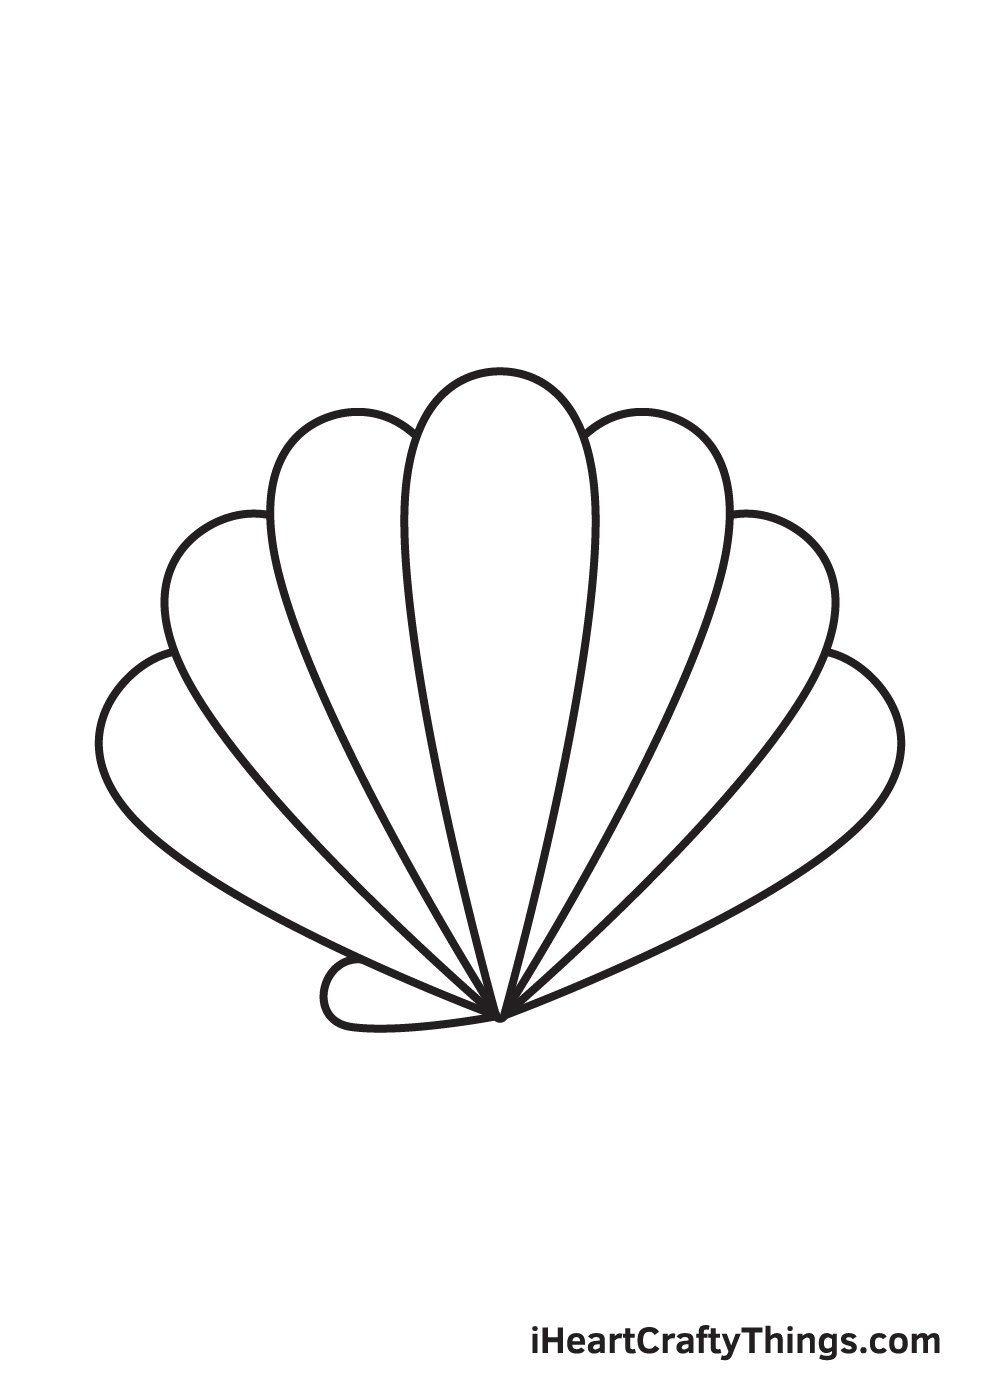
In this step, we'll create the hinge on the bottom part of the seashell.
Simply draw a horizontal curved line directly connected on the left side of the pointed bottom of the seashell.
Step 9 — Now, Finalize the Structure of the Seashell
Repeat the previous step on the opposite side to complete the hinges of the seashell. This is the part that supports the seashell whenever it's opening or closing.
Try to make this figure identical to the first one we drew in the previous. This helps keep the seashell symmetrical.
Now, it's finally time to make your seashell look a lot more realistic by adding colors! This is most probably the most awaited step because this is where you can showcase your artistic skills!
As you can see in the illustration above, we used a mixture of the colors tan and cream. You can choose to color your seashell similar to how we've done ours or customize the colors. Either way, we're sure the colors will turn out perfectly!
Have fun playing with colors and watch as the seashell ultimately comes to life!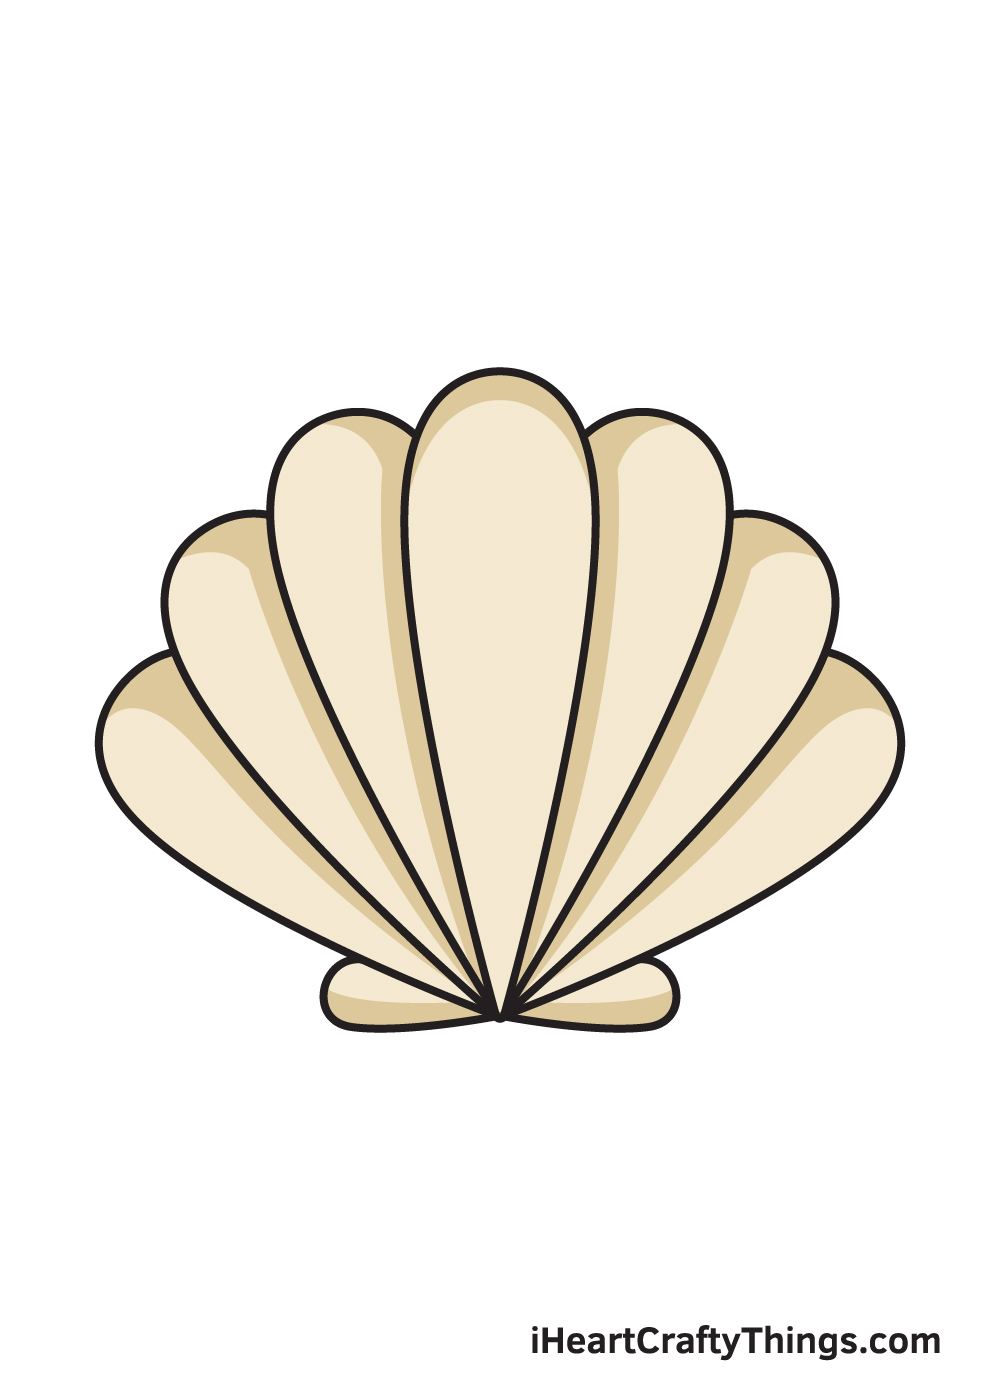
Your Seashell Drawing is Complete!
Hopefully, you had a wonderful time drawing a seashell with this step-by-step drawing tutorial.
Now that you can draw a seashell, perhaps you can draw an ocean with beautiful seashells scattered all over the sea shore next time? If you're interested in drawing that, feel free to check out our free ocean drawing tutorial.
Remember, all of our drawing tutorials are 100% free for you to use as learning materials to help you draw a wide range of subjects.
We are updating our "How to Draw" catalog on a regular basis, so don't forget to keep checking back to continuously enjoy brand-new drawing tutorials.
Let us know what you would like to draw next and we'll create a drawing tutorial for it!
Soon after you're done drawing and coloring a seashell, make sure to show off your masterpiece as a way to celebrate your achievement!
Take a photo of your artwork and share it on our Facebook page and on Pinterest. Don't be embarrassed! You've worked so hard for it, so we're sure it looks impressive!
We can't wait to see your beautiful seashell drawing!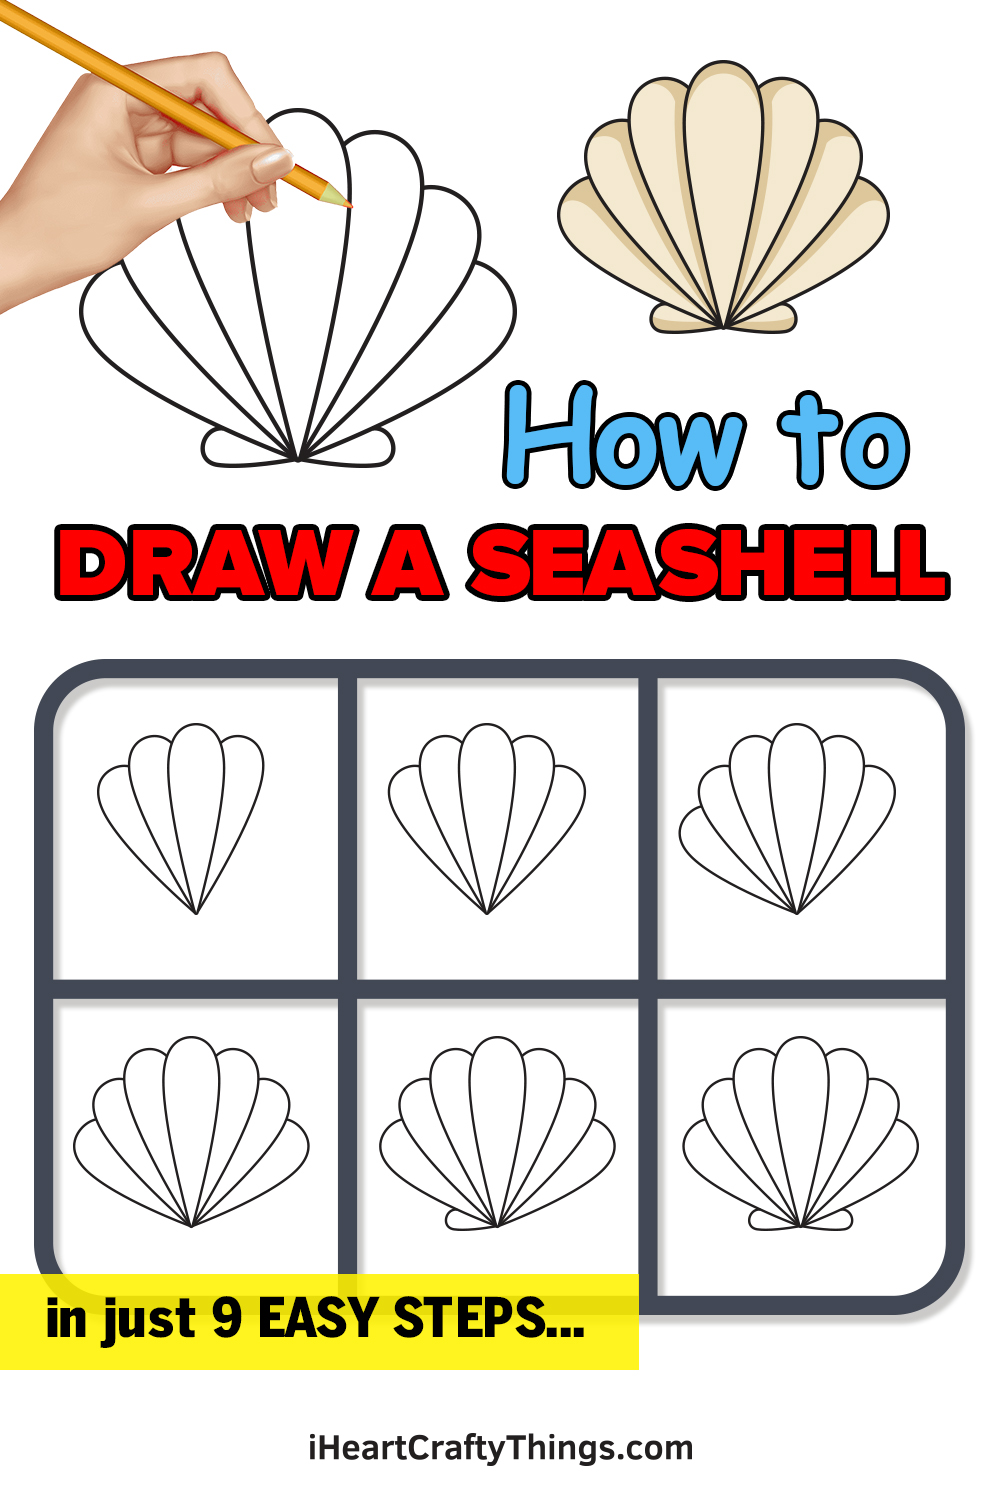
How To Draw A Realistic Shell
Source: https://iheartcraftythings.com/seashell-drawing.html
Posted by: gallawaynoter1965.blogspot.com
0 Response to "How To Draw A Realistic Shell"
Post a Comment